Skip to main contentPrimary Accounts
Primary Accounts serve as your primary channels for quickly depositing funds into your Sarafa wallets and receiving payments from others.

Creating a Primary Account
You can set up Primary Accounts for both mobile money and bank transfers, linking them directly to your Sarafa profile. Here’s a general overview of how to add each type:
Adding a Mobile Money Primary Account:
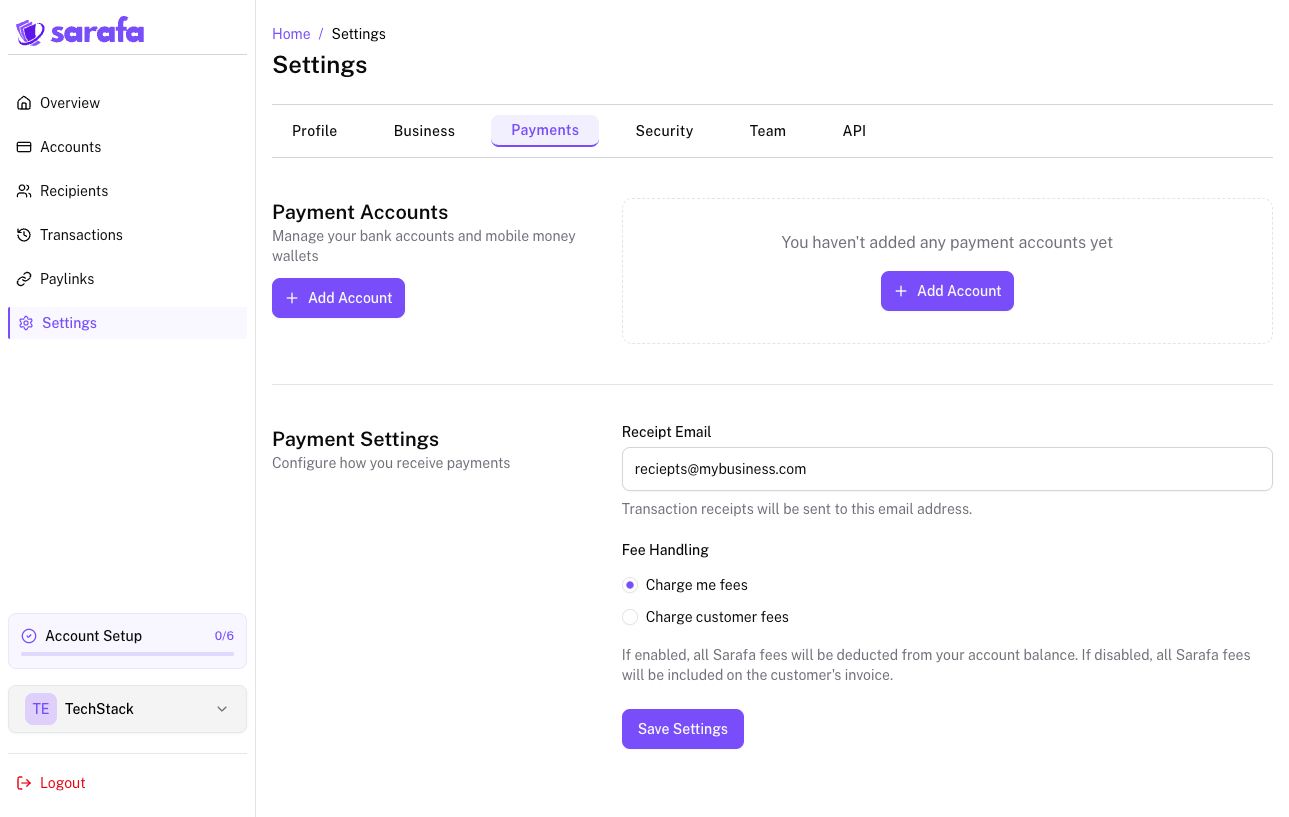
- Navigate to the “Payments” section within your Sarafa account settings.
- Click on the option to “Add Mobile Money Account”.

- You will be prompted to enter the following details:
- Mobile Network Provider: Select your mobile money service provider (e.g., MTN Mobile Money, Airtel Money).
- Mobile Money Number: Enter your registered mobile money phone number.
- Account Nickname (Optional): You can add a nickname for easy identification (e.g., “My Personal Mobile”).
- Follow any on-screen instructions for verification, which may involve receiving an OTP (One-Time Password) on your mobile device.
- Once verified, you can designate this mobile money account as a “Primary” account for deposits and/or withdrawals.
Adding a Bank Primary Account:
- In the “Payments” section, click on the option to “Add Bank Account”.

- You will need to provide the following information:
- Bank Name: Select your bank from the provided list.
- Account Holder Name: Ensure this matches the name on your bank account.
- Bank Account Number: Enter your full bank account number.
- Branch Name (Optional): You may be asked for the bank branch name.
Once a mobile money or bank account is set as primary, it will often be pre-selected or easily accessible when you initiate deposit or withdrawal requests, saving you time and effort.
Removing a Primary Account
If you need to remove a Primary Account:
- Navigate back to the “Payments” section in your account settings.
- Locate the Primary Account you wish to remove.
- You should see an option to “Remove,” “Delete,” or a similar icon (e.g., a trash can icon) associated with that account.
- Click on the “Remove” option.
- You may be asked to confirm your decision. Follow the on-screen prompts to finalize the removal.
After removal, the account will no longer be designated as primary, and you will need to select a different method or re-enter the details for future transactions if needed. You can always add it back as a primary account later if required. 


